Multiple Students Payments list is constrained by the student View Selected on the Lookup tab until another view is selected. The columns in the view are fixed.
For more information about the features of the Multiple Students Payments screen refer to the diagram and table below.

| Multiple Students: Payments | |
|---|---|
A | The Single Student View panel on the left contains the student's picture, name, address 2 selected demographic fields, alert indicator Household count, Household contact names, Daily Attendance statistics, Today's Attendance status, Last Attendance status and student's schedule location. Click the expand icon icon |
B | Switch between student Views. The default will be the View selected on the Lookup tab. |
C | Search for a student by the demographic header selected on the Lookup screen. The default is Name "Contains" which will search for the sequence of characters. Click on "Contains" to toggle to "Begins with" to search by the initial characters in the student demographic field selected. Click the search icon |
D | Check the box to include payments for Inactive students |
E | Click Batch Entry to enter multiple charges. For more information on how to batch enter payments, see Payments Batch Entry below. |
F | Click Export to export the view into Excel. |
G | Click a column header to sort the data and search by that demographic field. The default is Name. |
H | Click the filter icon |
I | Choose the page to view and the number of Rows Per Page to display |
J | The number of charges on the page and total number of charges in the view is displayed. Note: An Invoice may be split up into multiple charges to record a multiple payment plan. |
Payments Batch Entry
To Batch Entry payments, do the following:
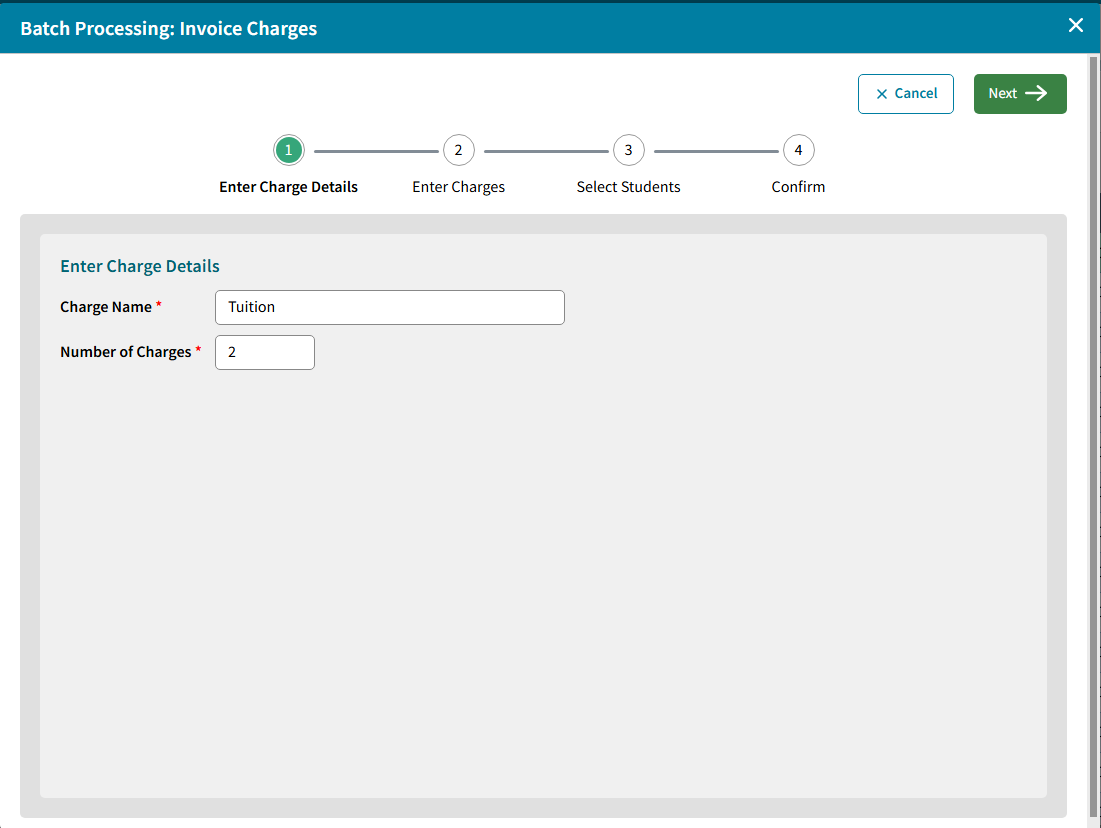
- Select Batch Entry
- Enter Charge Details and Number of Charges.
- Click Next.
- Enter Invoice Charges. Description will be pre-filled based on Charge Name and Number of Charges
Number of Days for Charge Due can be entered so Due Date is calculated based on Date and Number. - Click Next.

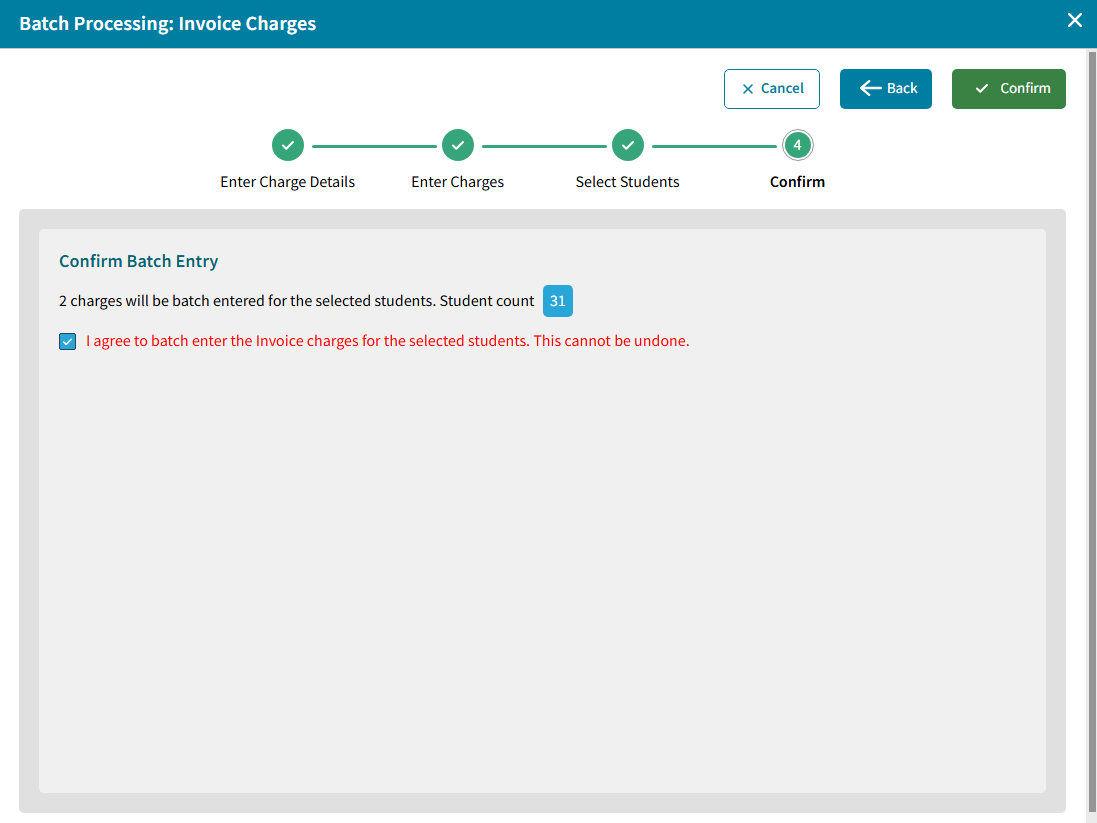
- Select Students who you want to apply the invoice charges to. Students can be selected by one of the following:
- Saved View
- Grade Levels
- DB Field(s)
- Individual Students
- Course/Section
- Homeroom.

- Click Next once all Students have been selected.
- Check the box to Confirm or use Back arrow to change selections or Cancel.